Tag Archives: BMW

BMW 135i – Interior LED Conversion

Why do cars still come with halogen headlights and crappy interior bulbs? It’s 2015, Xenons and LEDs should be standard issue, since the 1 series is pretty old – I decided to take it upon myself to upgrade the interior lights.

I finally ordered some LEDs from ECSTuning. They sell a full LED kit for the 135i, but it’s marked up an additional $15 for no reason. So, I bought everything individually to save some cash. (1) overhead kit, (1) glovebox bulb, and (1) trunk bulb for a total of $41.33 instead of $54.95… you’re welcome. Here are my results:

BMW 135i - front dome light conversion BMW 135i - rear dome light conversion BMW 135i - glove box light conversion BMW 135i - trunk light conversion

Continue reading BMW 135i – Interior LED Conversion

BMW 135i – OMGSplitters Front Splitter Install

It was just another day browsing 1Addicts when I stumbled upon a thread about custom front splitters by fmxomar. There was a ton of interest, but no one had installed one yet. For the price, I figured I’d pull the trigger on the front splitter and a set of side splitters.

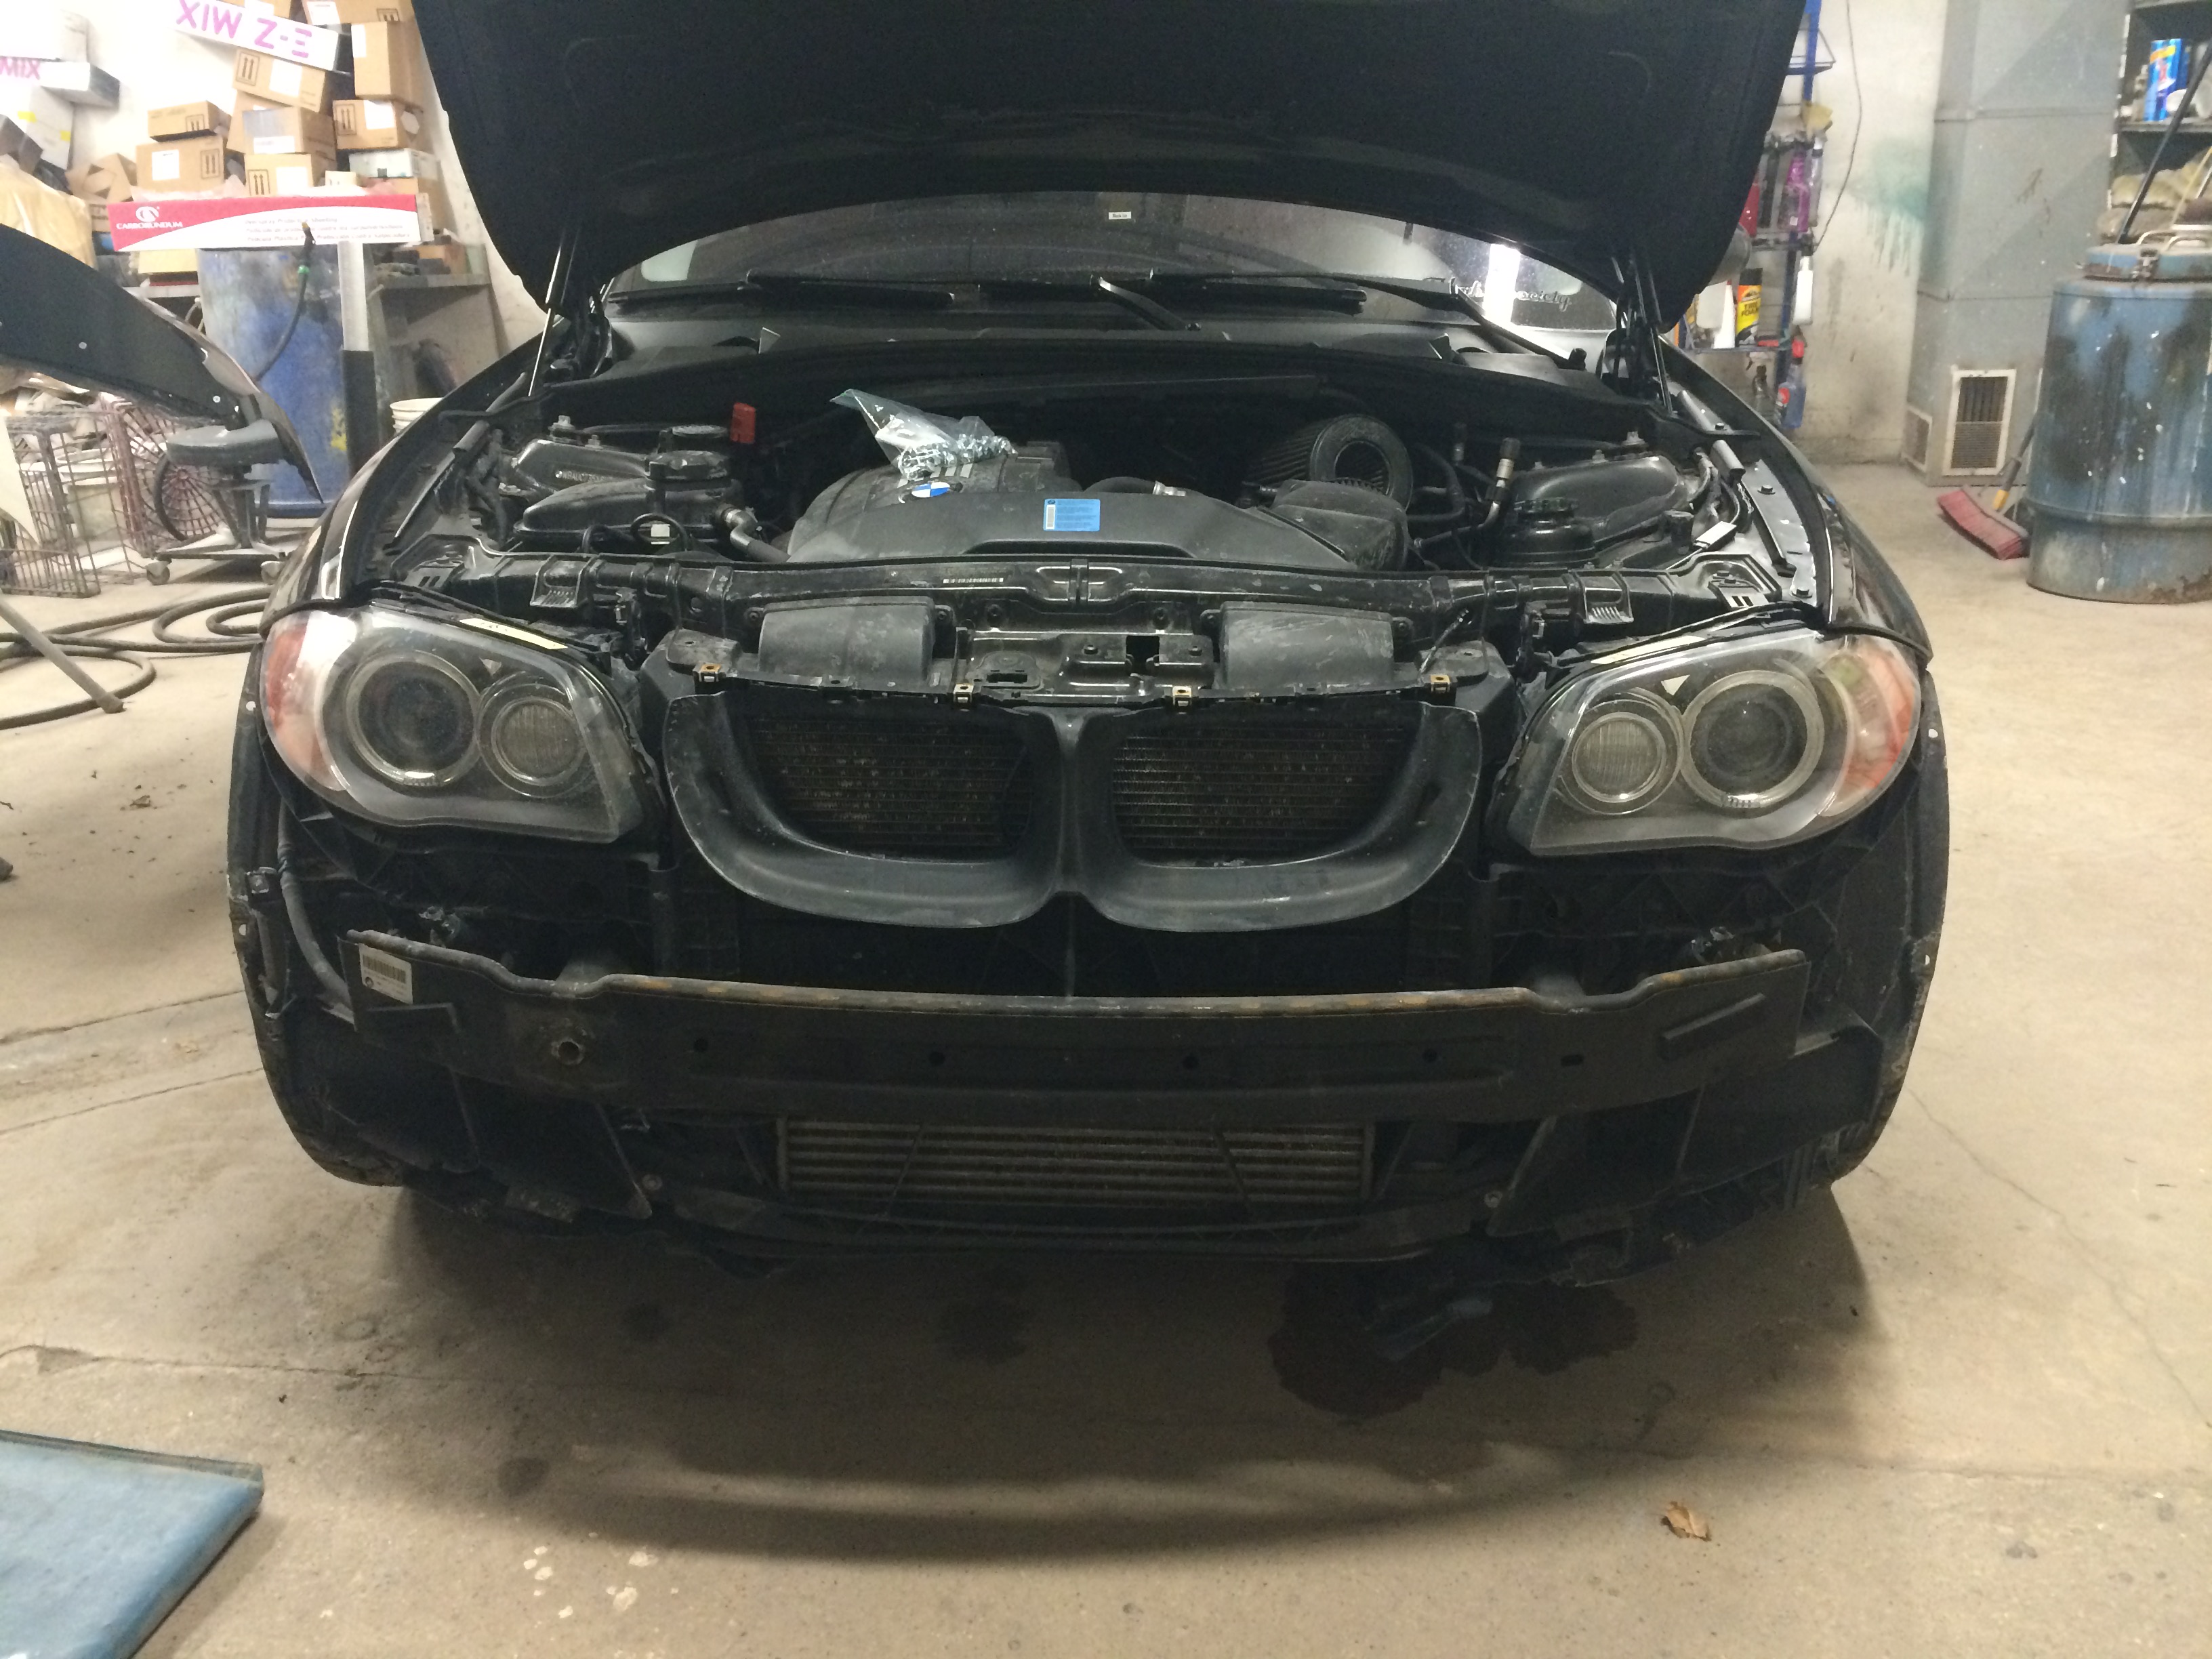
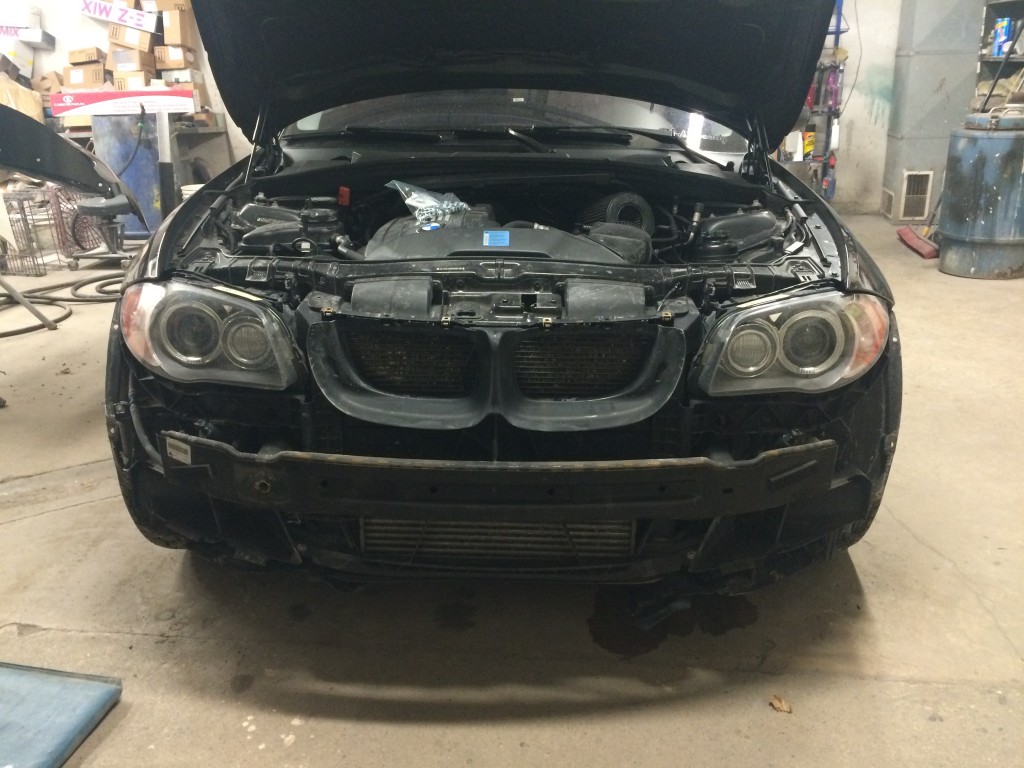
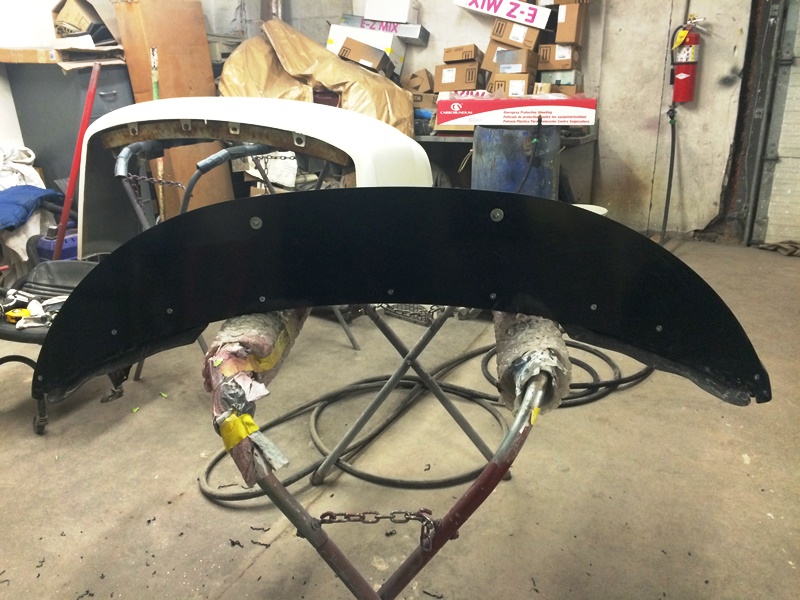
I thought these two items would flow perfectly with the Rieger rear diffuser that I’ve had my eyes on. The parts arrived within a week and came with installation hardware, but no mounting holes. I guess that’s what a drill is for! First step: remove the front bumper.

BMW 135i - front bumper removedI started off by clamping the splitter to the bottom of the bumper and then lined everything up. 9 holes later and it was attached. I still wanted to mount the OEM wheel wind deflectors, so I trimmed 1/2″ notches in the back of the splitter to make room.

BMW 135i - installing splitter

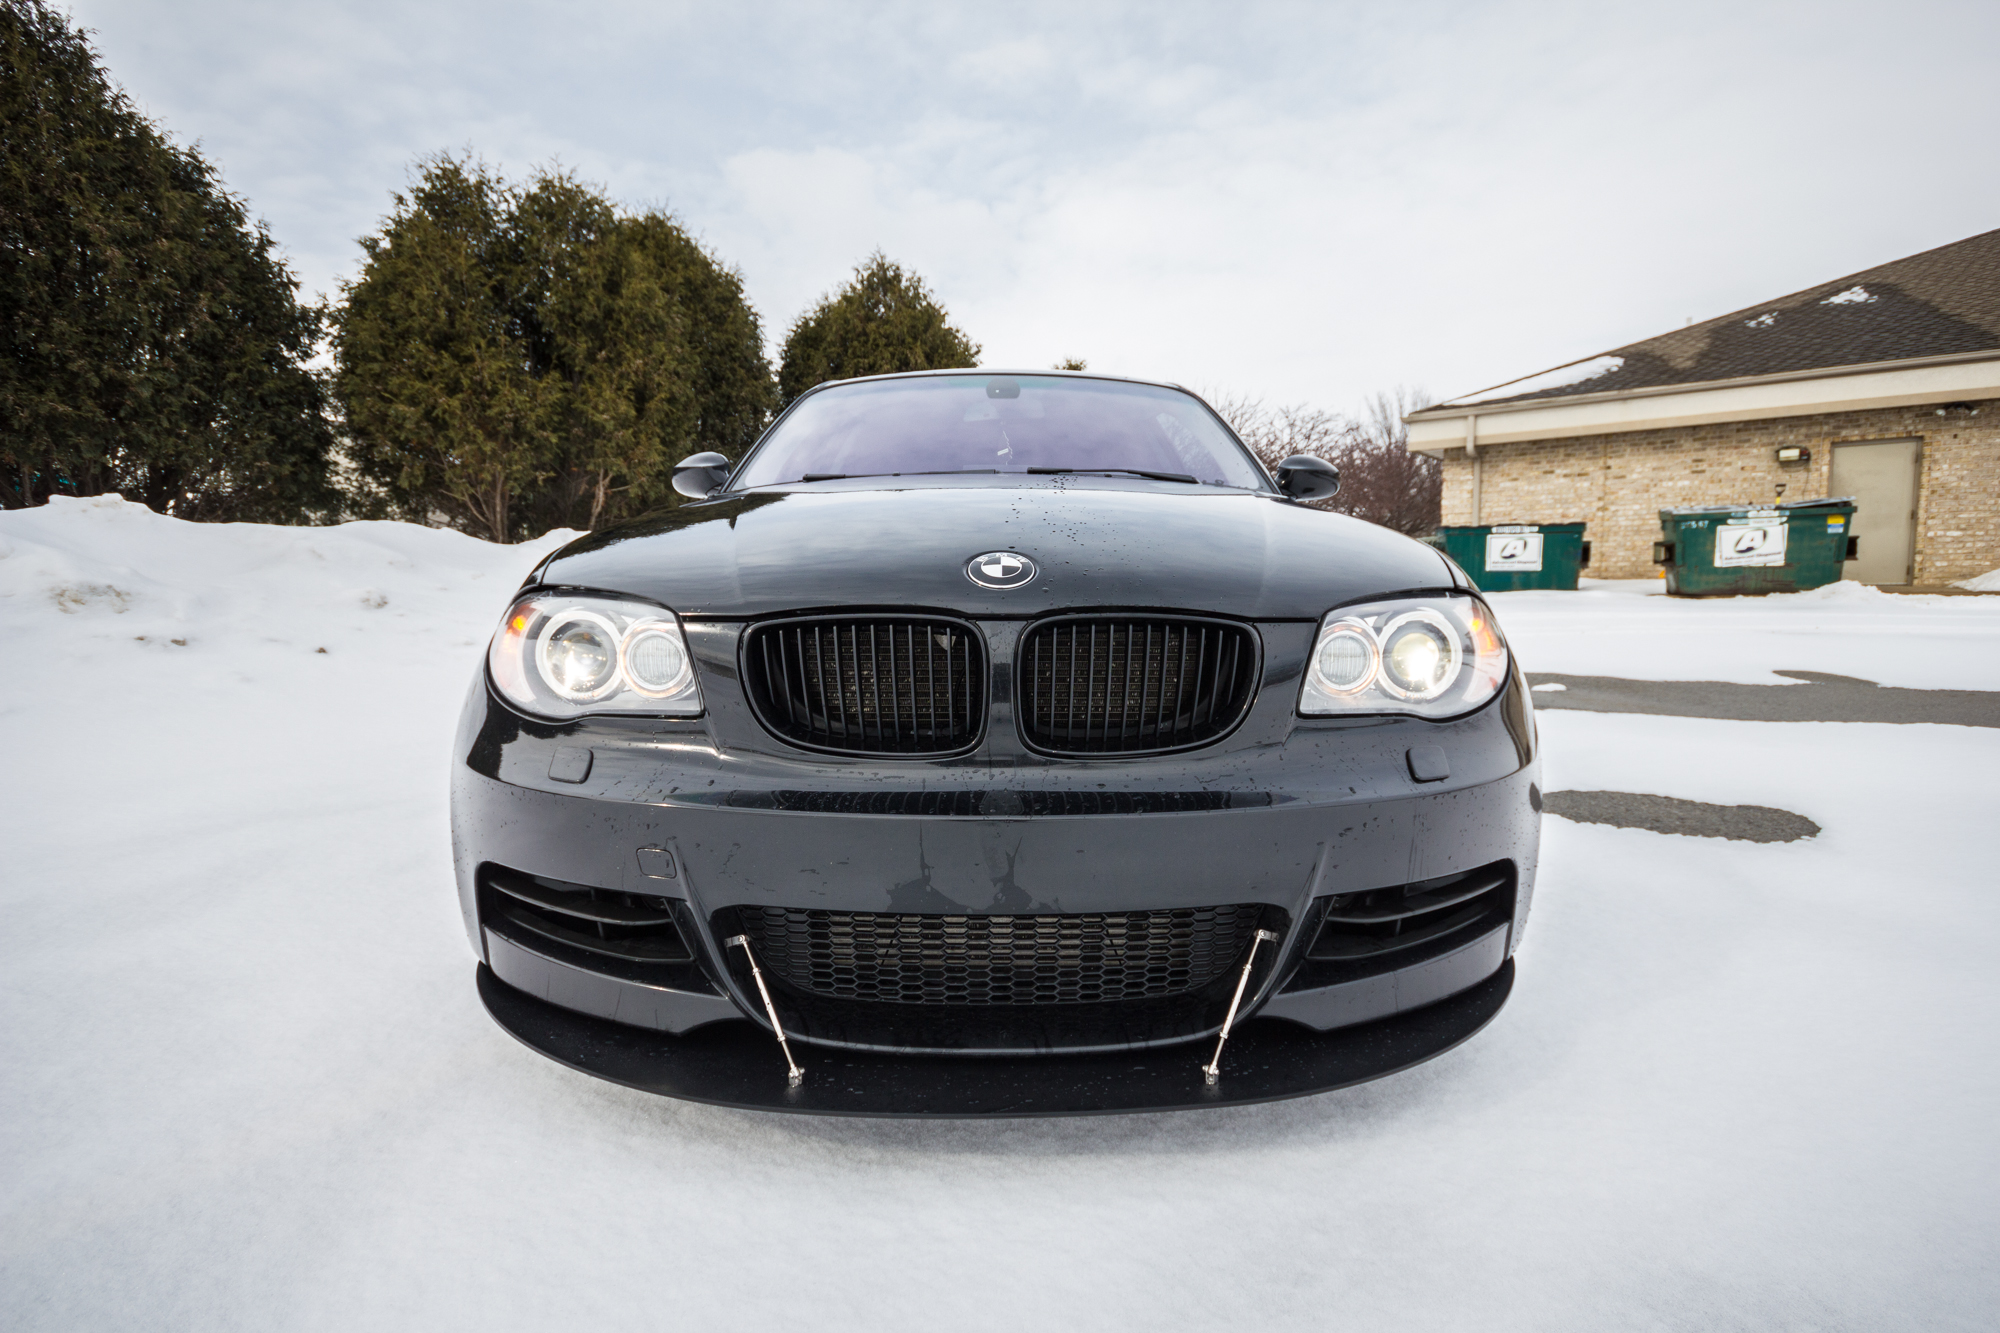
Because both parts are plastic and the splitter wasn’t structurally mounted, I didn’t want to take the chance of it folding under at high speeds. So, I installed two APR support rods. It took a little courage to drill into a perfectly good front bumper, but it was a risk I was willing to take. I followed the center-flow design and made sure to use large washers on the back of the bumper. Everything was secure so I quickly re-mounted the front bumper. It is a very sturdy setup.

BMW 135i - custom front splitter installed
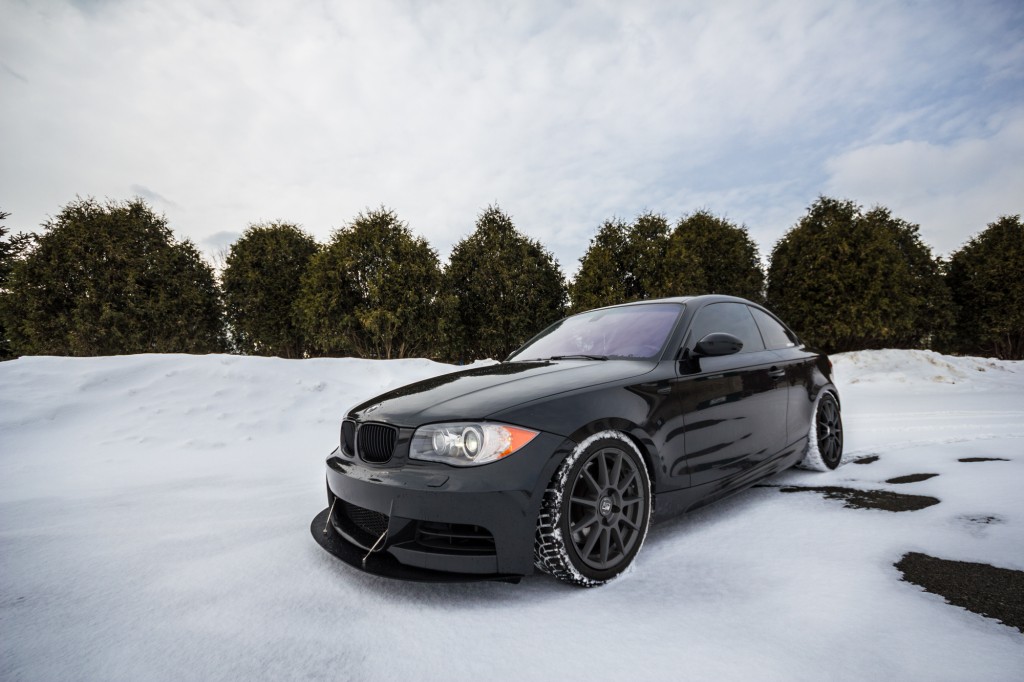
Overall, I am very satisfied with this splitter. I would not recommend mounting it without supporting rods, but feel free to do so at your own risk. Stay tuned for the side-skirt installation in about a month!

BMW 135i - custom front splitter installed

BMW 135i - custom front splitter installed


BMW 135i – Blackline Taillights Install

I’ve always preferred the look of smoked tail lights, but oftentimes the results are unflattering. I didn’t want VHT Nightshade anywhere near my BMW. Then I found out that BMW sells OEM tinted LCI taillights overseas. The only reason they aren’t offered in America is because they aren’t DOT-approved. Half of my car is no longer DOT-approved, so I decided to order them anyways.

I got mine from individual-car-consulting (Germany) on eBay, but now they can be purchased in the U.S. from ECSTuning. After about 4 weeks, they finally arrived! I couldn’t wait to install them.

Pre-LCI vs Blacklines - off Taillights OFF – LCI Blacklines (left) vs. OEM pre-LCI (right)

Pre-LCI vs Blacklines - on Taillights ON – LCI Blacklines (left) vs. OEM pre-LCI (right)

The install was very straight forward and only took about 30 minutes from start-to-finish. The LCI Blacklines were actually brighter than my OEM taillights. I’m very happy with the purchase and believe they’ve transformed the rear-end of the car.

BMW 135i - Blackline Taillights

Click the link below to see more comparison pictures.

Continue reading BMW 135i – Blackline Taillights Install

How-To: Detail BMW with Paint Correction

This car has been in need of a good detail and I finally got around to doing it. First I washed it with Meguiar’s Gold Class Shampoo, then went over the whole car with their Clay Bar Kit. I was surprised at the amount of crap the claybar took off. Then I used a high-speed corded drill with a velcro attachment for cutting, polishing, and waxing.

I started with Meguiar’s Ultimate Compound on a 6″ foam cutting pad from Harbor Freight. After going over a body panel, I would let it dry and then wipe it off with a microfiber cloth. Next, I used Meguiar’s Polishing Compound on a 6″ polishing foam pad, again wiping it off with a microfiber towel once finished. The last step was applying Meguiar’s Black Wax with a 6″ foam finishing pad. Obviously wiping the excess off with a microfiber cloth.

I took a picture before I started the cut/polish/wax process. Once I was finished, I took another picture to show the results. Keep in mind, the “before” picture is when the car was already washed and clean. The imperfections you see are all swirls or scratches, not dirt.

This animated GIF will switch between images. Click it for high-res.
BMW 135i - paint correction

In the two photos, you can see a lot of things in my garage reflecting off the paint. The two lines near the middle of the photos are power cords, not scratches. The lighter reflections above those are the power boxes on the light stands. All other bright imperfections are either lights on the ceiling, lights on the stands, or bright objects laying on the ground or on top of shelves. Obviously you can see the reflections of the yellow and red light stands themselves.

Continue reading How-To: Detail BMW with Paint Correction

BMW 135i – BMS Dual Cone Intake Install (N54)

Last week, I scored a used BMS Dual Cone Intake kit on 1Addicts for only $25 shipped! It was just too good of a price to pass up. When I opened the box, I found a pair of very dirty white filters. I regret not taking pictures of them because they almost looked black.

After soaking them with degreaser and rising them off, they looked brand new again! A couple minutes in the sun and they were dry. Then I grabbed a can of K&N filter oil and sprayed a nice coat on top. To my surprise, the oil was red! My precious white filters were no longer white! Oh well… they still look great.

BMW 135 - BMS dual cone intake

BMS claims that these puppies add at least 15HP to the wheels. I’m not sure how accurate that is but the sound is intoxicating! I had no problems with the K&N panel filter in the OEM airbox, but I read that it can be restrictive at higher boost levels. For only $25, I couldn’t go wrong with these. A quick test run proved that the car pulls great and sounds much better. Plus, I like the look of these under the hood.

BMS Dual Cone Intake dyno chart